
How to set up your company and venue in XCEED Pro
This guide walks you through the process so your account is ready to go from day one.
1. Create your company
Your company represents the legal or organisational entity behind your events (promoter, club, collective, or brand).
1.1 Access company creation
Log in to XCEED Pro.
Click Settings in the bottom-left corner.
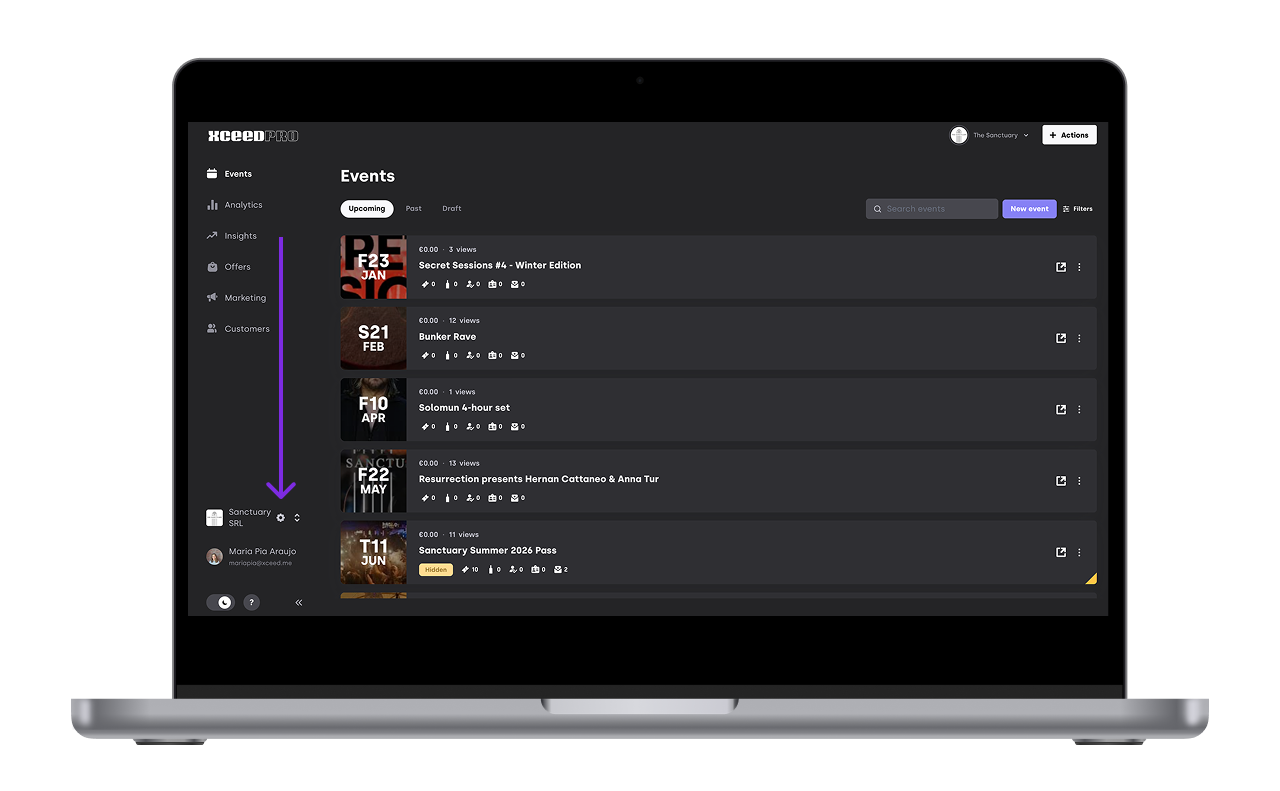
Select Info.

1.2 Fill in company and billing details
1.2.1 Add the company information:
Company Public name (aka: commercial name)
Registered business name
Registered complete address
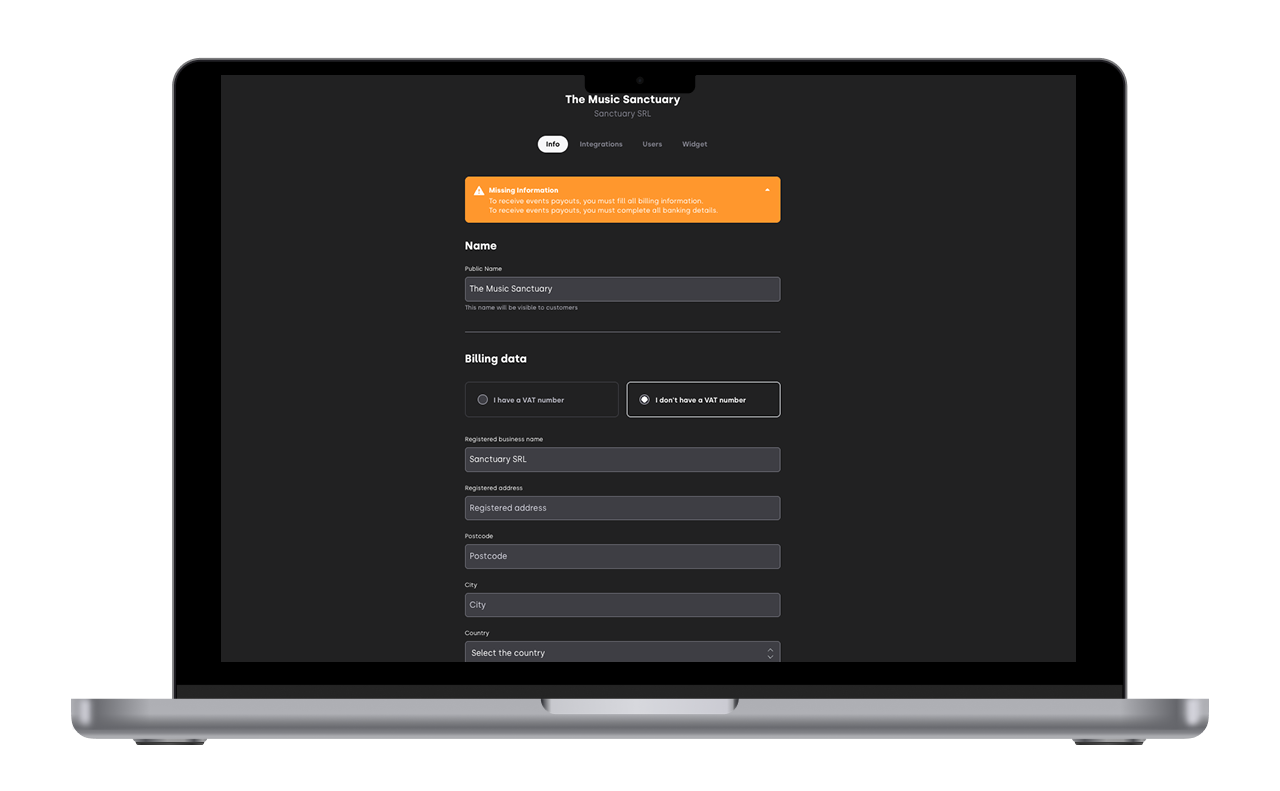
1.2.2 Add your billing information
Bank Account Holder (has to be the same as the Registered business name)
IBAN
Country
BIC/SWIFT
Contact details of the finance department of your company
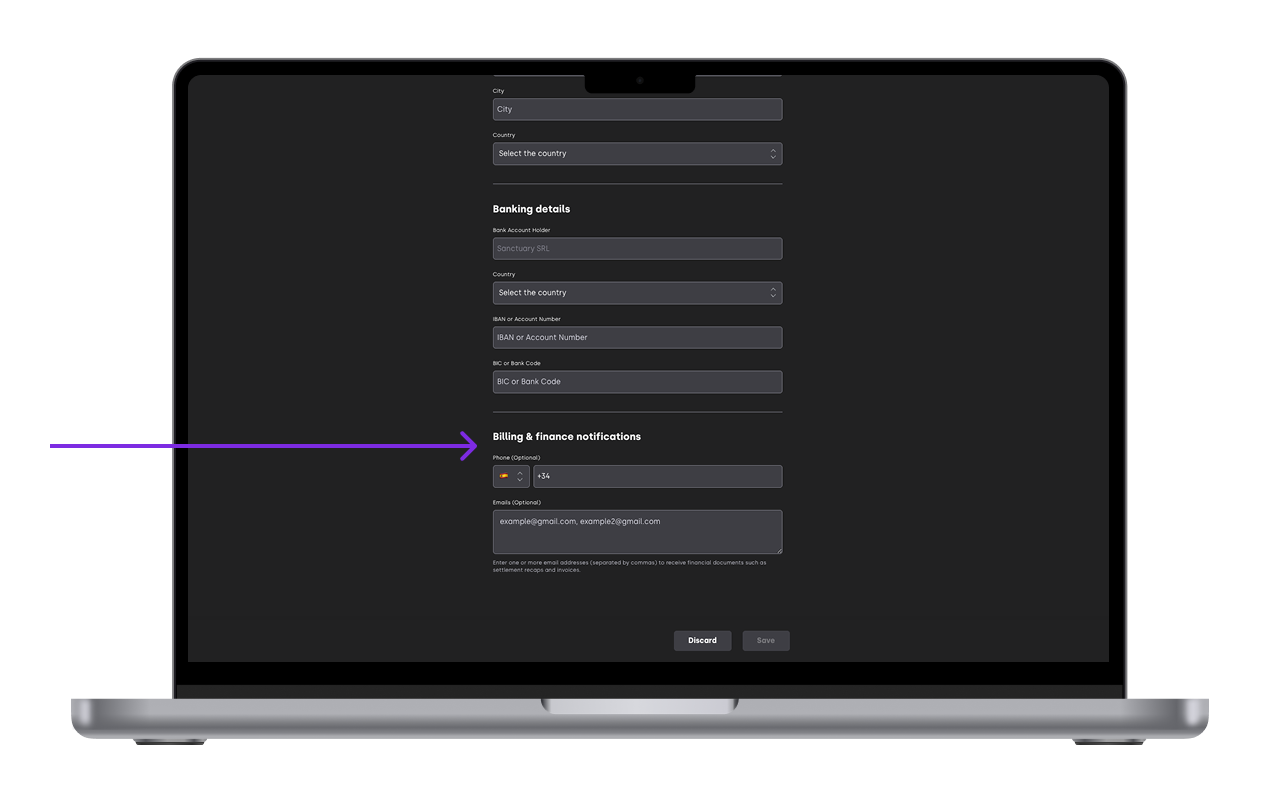
Make sure this information is accurate, as it’s used for contracts, invoices, and payouts.
1.3 Save your company
Once completed, click Save. Your company is now created and can be linked to venues and events.
Make sure you don't have any notification of information missing

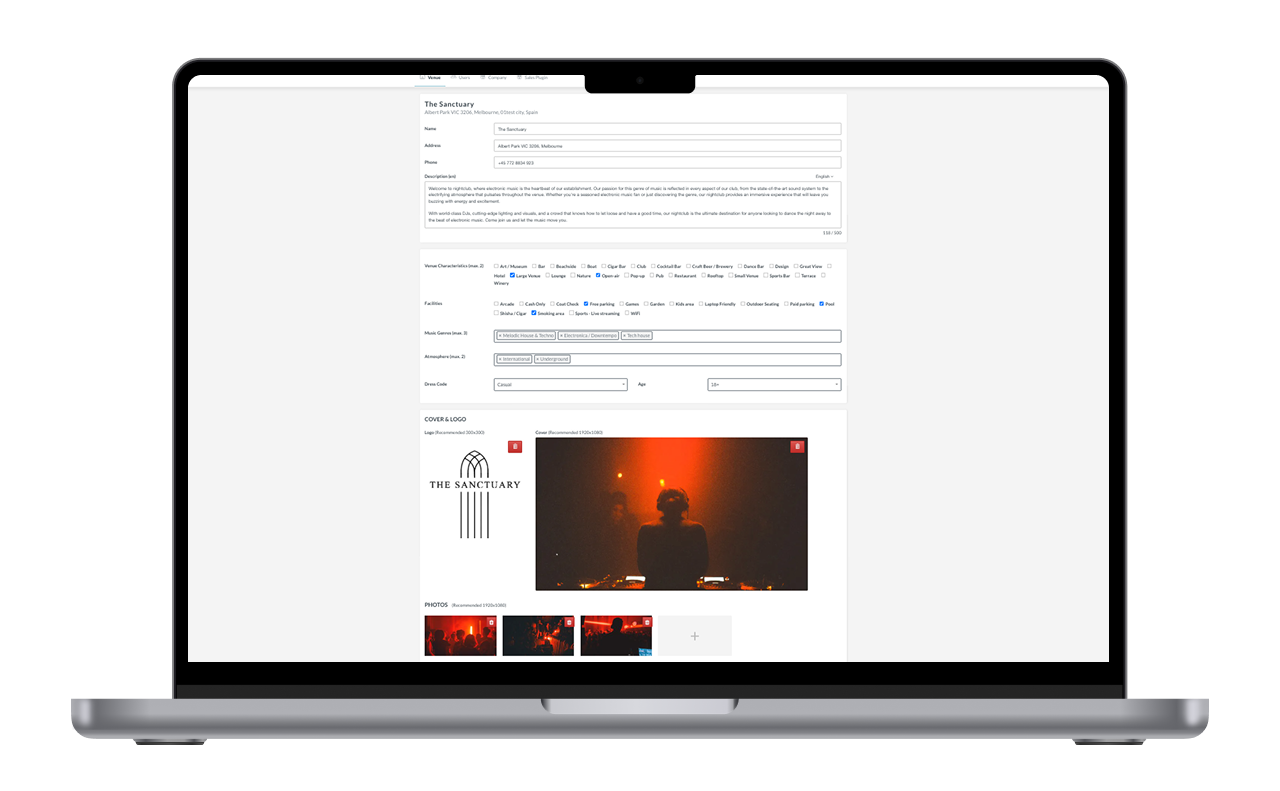
2. Edit your venue
A venue is the physical location where your events take place. Each venue must associated to a company and a company can operate in many venues
2.1 Edit your venue
Editing venues is not allowed to any event organiser. You can only change venue details if you are the venue owner. If you are not please contact support@xcee.me and we will help you edit the venue.
If you have permission to edit your venue
Go to Settings.
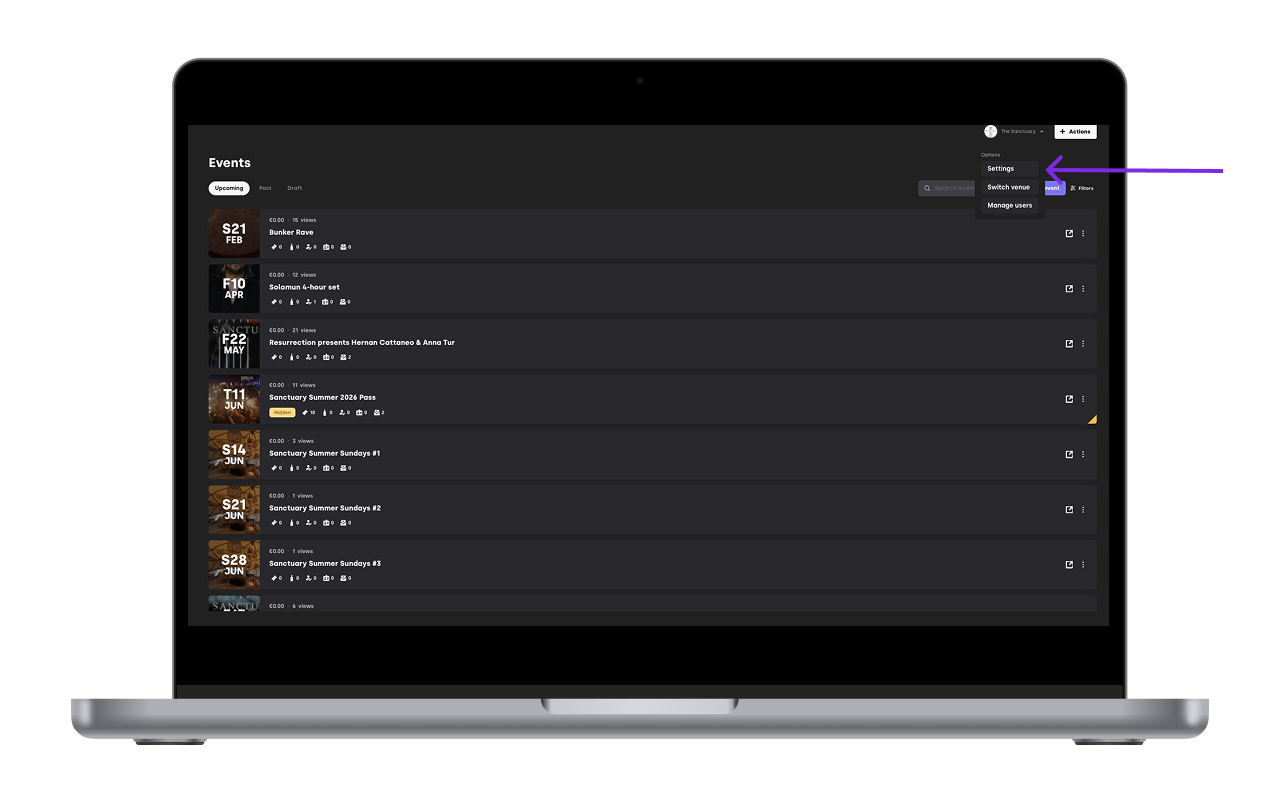
Click Venues.
Change the venue details
Name
Address
Description
Vibe/ Atmosphere
Dress code and age
Type of music
Logo
Pictures

3. Add an existing venue to your account or creating a new one
If you have seen the venue you are working with already on XCEED please contact support to add it to your profile
If you need a new venue created and added to your profile send its details to support@xceed.me:
Name
Adress
Short description (if possible)
Logo
Pictures
If you have any other questions check our FAQ page or contact support@xceed.me