
Google Analytics tracking with the XCEED widget
This step-by-step guide will walk you through the set up and configuration of your Google Analytics and Google Tag Manager accounts in order to connect your Google Analytics with the XCEED widget on your website.
STEP 1: Create a Google Tag Manager (GTM) account
If you don't have already a Google Tag Manager account, follow this guide to create one: https://support.google.com/tagmanager/answer/14842164?hl=en
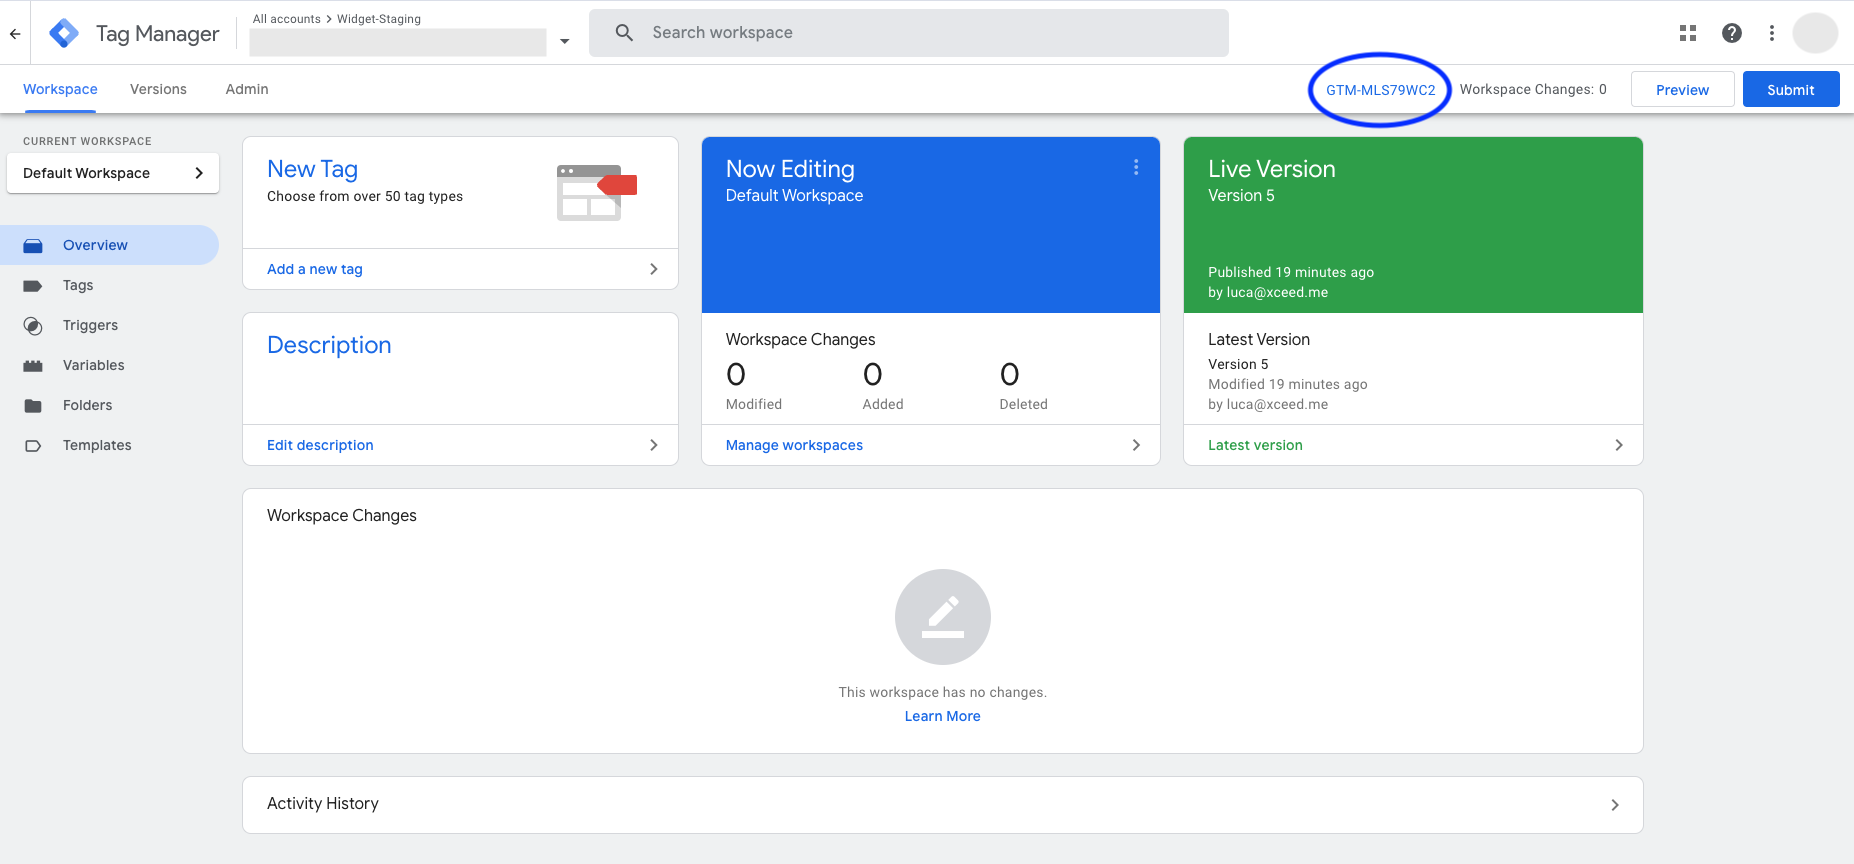
Your GTM container ID is located on the home page of the tag manager account you created.
STEP 2: Add the GTM container ID to the widget's settings in XCEED Pro
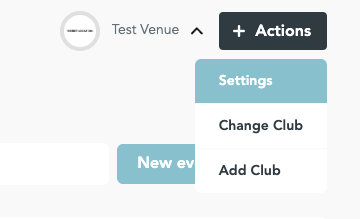
Go to XCEED Pro, click on your venue's name at the top-right corner of the screen, and select Settings
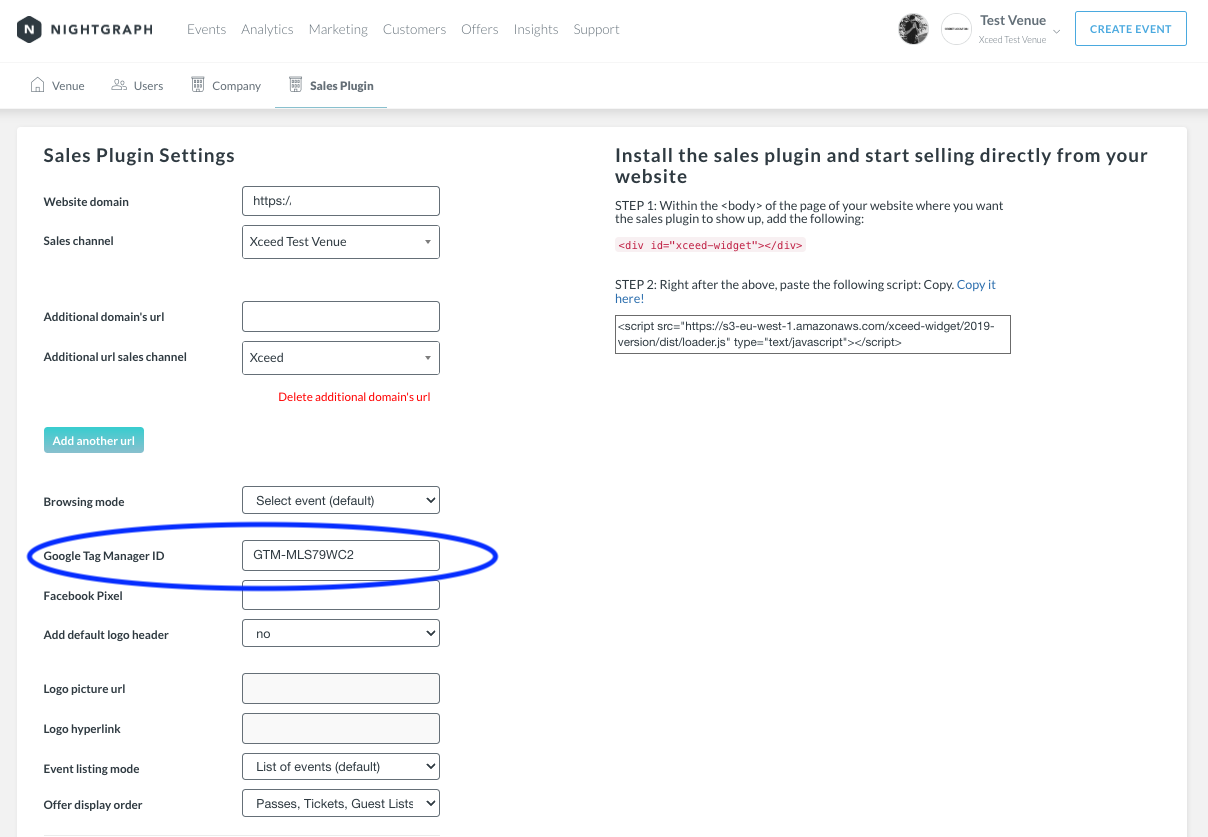
Then navigate to Sales Plugin, add the GTM container ID in the Google Tag Manager ID field and click on the SAVE button at the bottom of the page.
STEP 3: Create a Google Analytics account and set up a Data Stream.
If you don't already have a Google Analytics (GA) account, follow this guide to create one: https://support.google.com/analytics/answer/9304153?hl=en
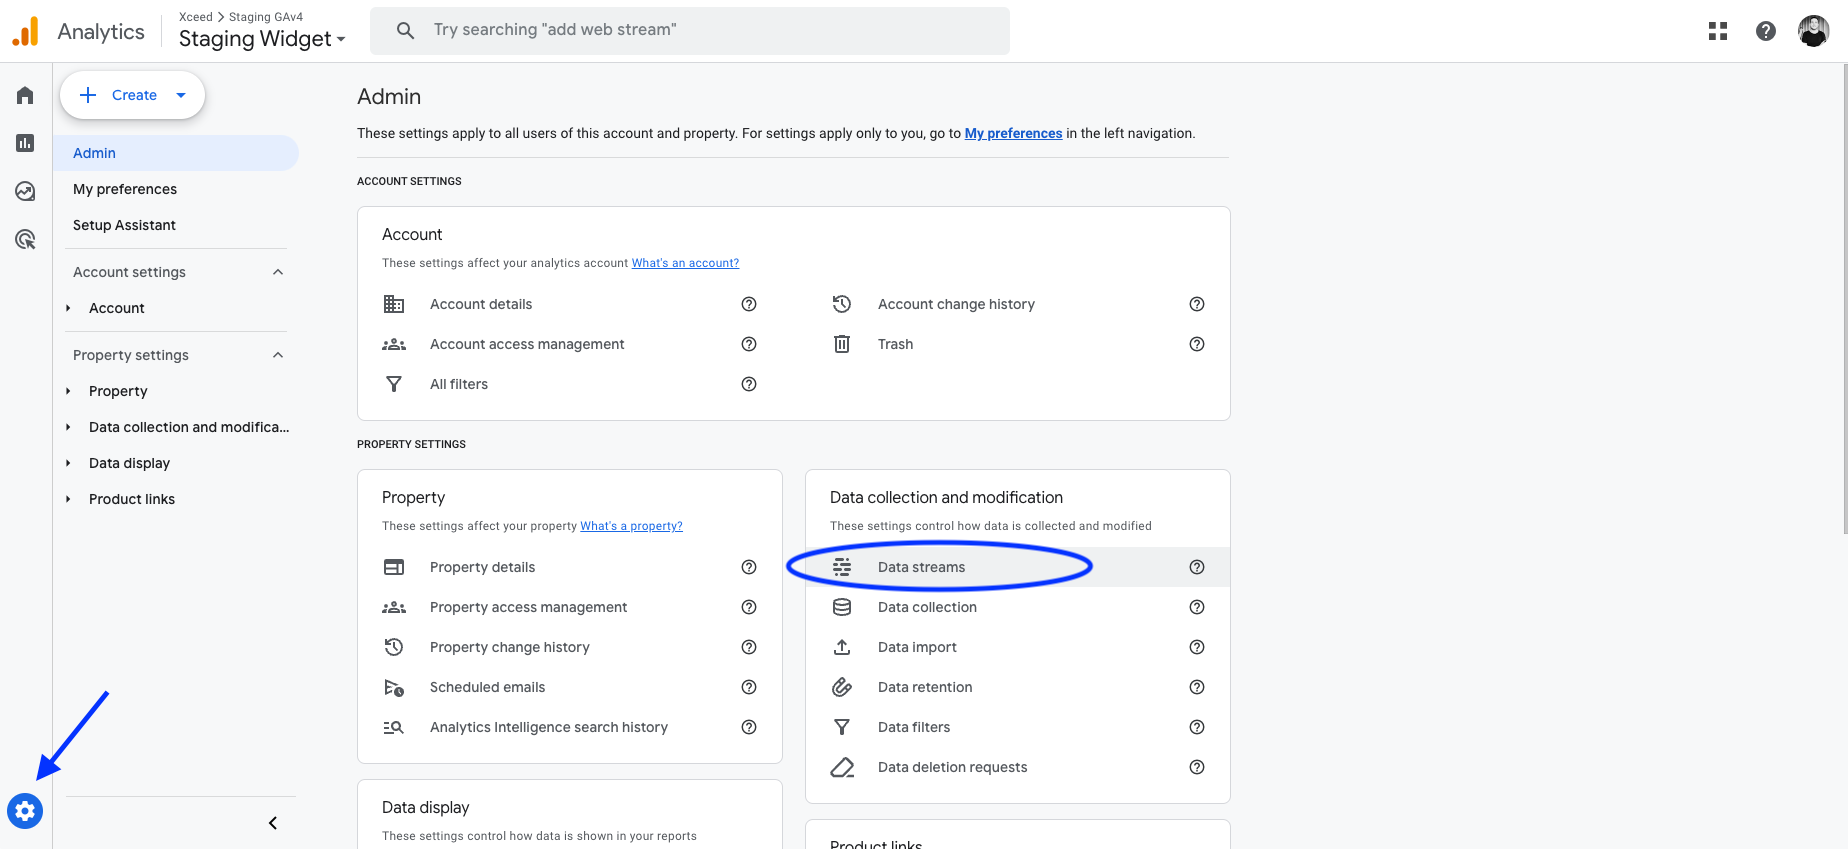
Within your GA account, navigate to the admin section (bottom left "gear" icon) and then click on Data streams.
Click on Add a stream > web and add the URL of the homepage of your website and a name for you to recognize it.
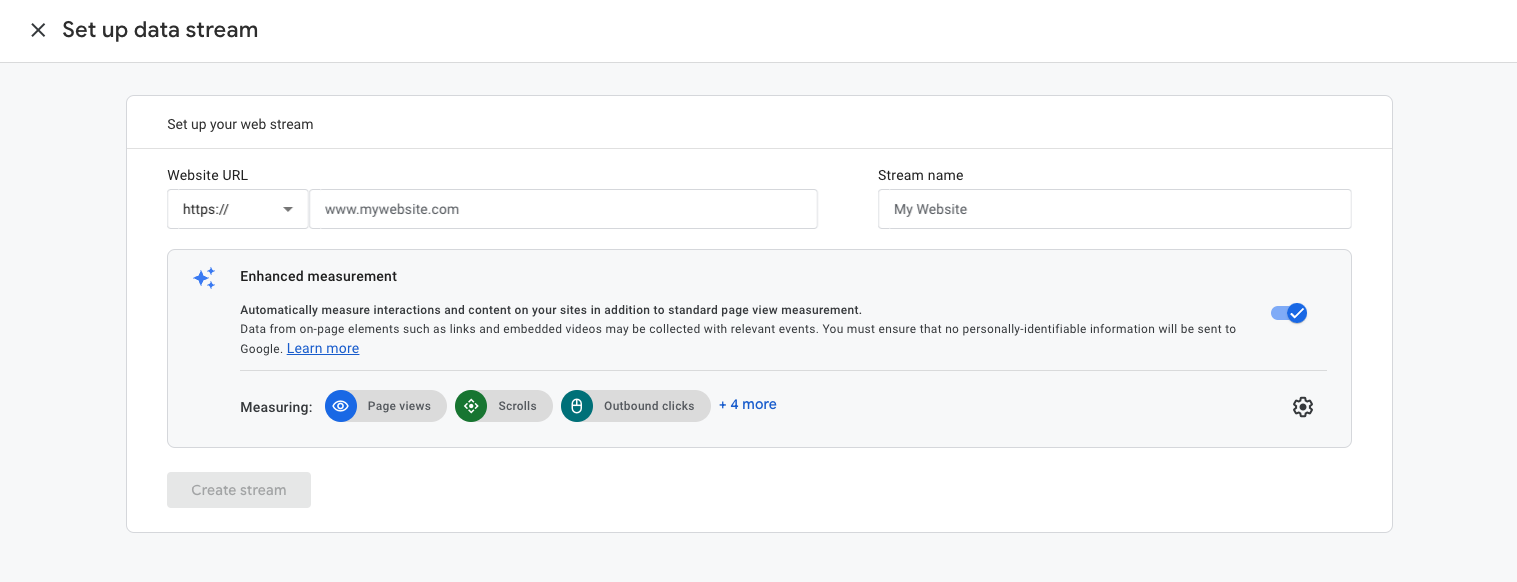
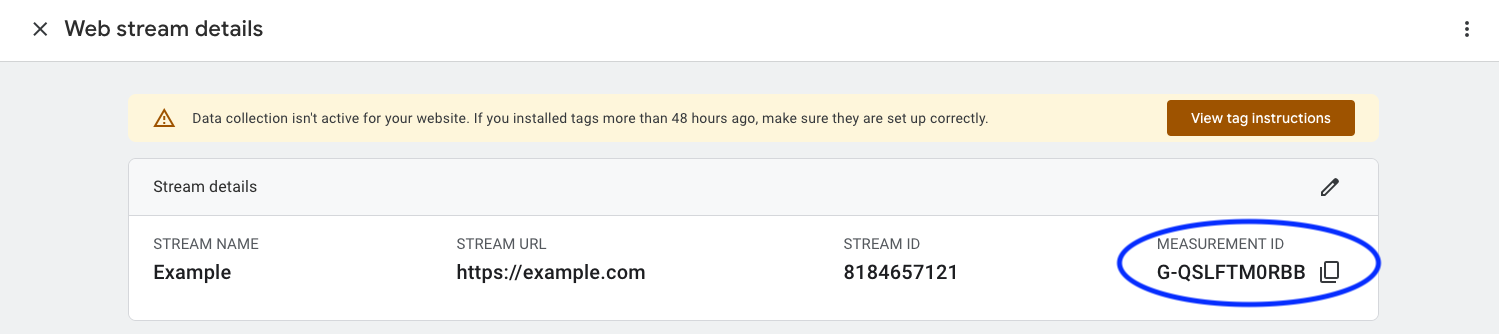
Once you have created the stream, don't mind the installation instructions and copy the Measurement ID (this is going to be the ID of your gTag).
STEP 4: Create the Google Tag in GTM
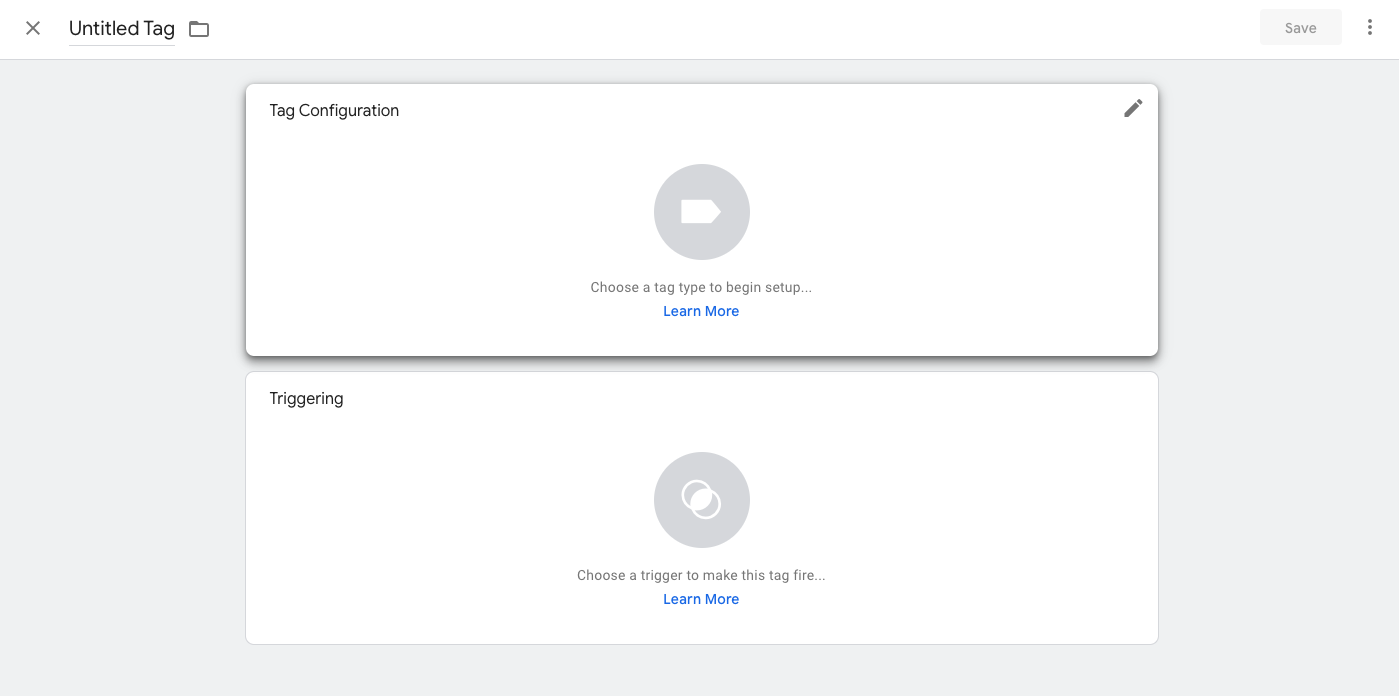
Go to your Google Tag Manager workspace, navigate to the Tags section via the left menu, and then click on NEW (top-right button).
Name your Tag "Google Tag" and click on the Tag Configuration card
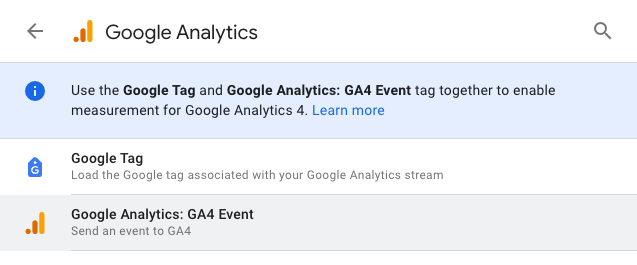
Click on Google Analytics
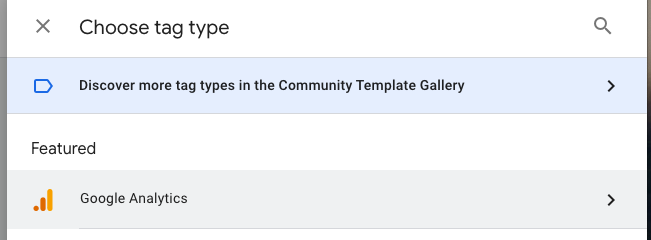
And then on Google Tag. In Tag ID, paste the Measurement ID you created in GA > Data Stream (Step 3).
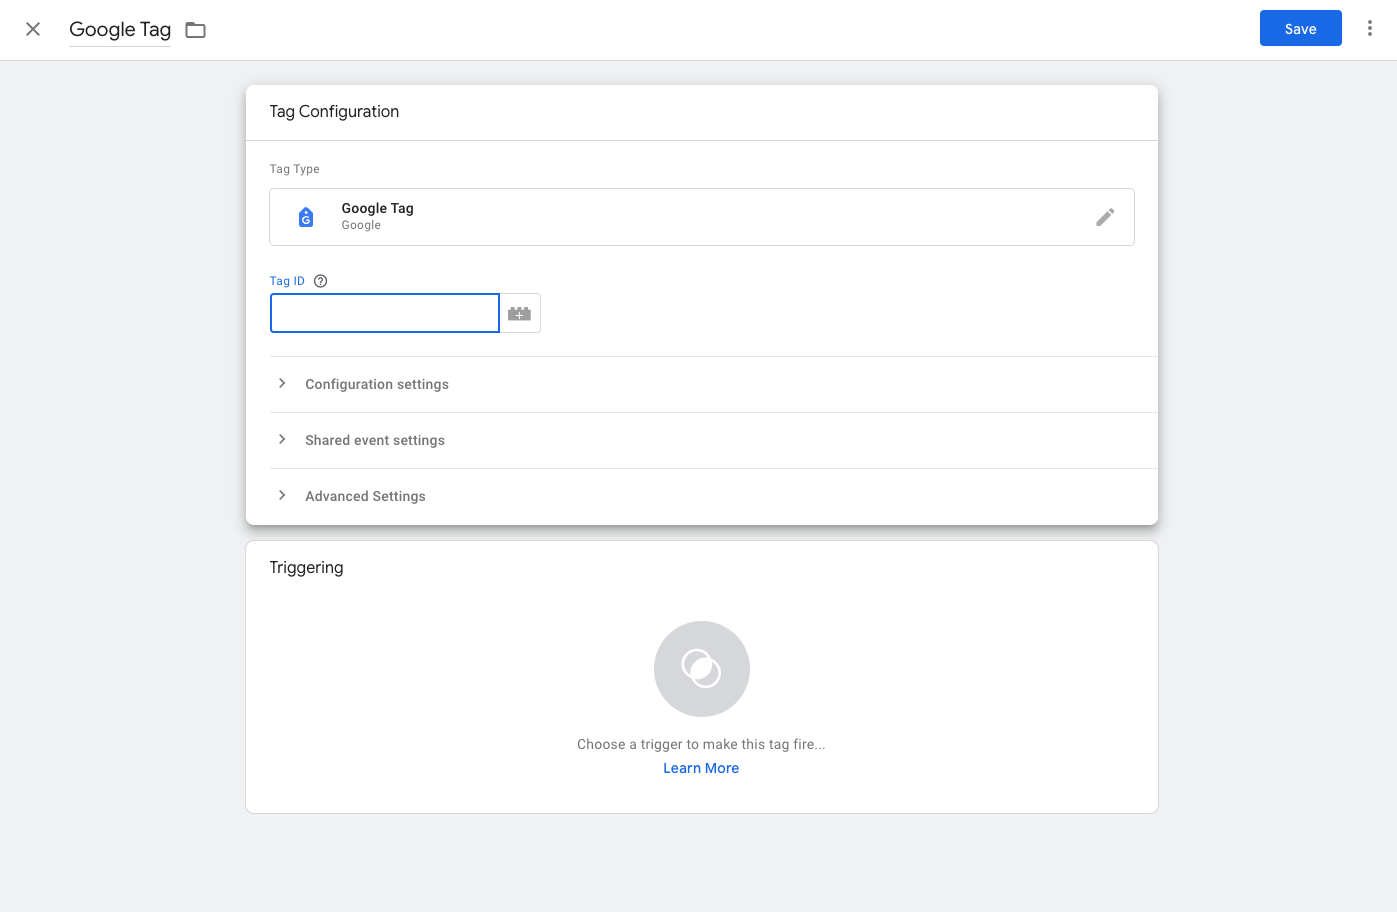
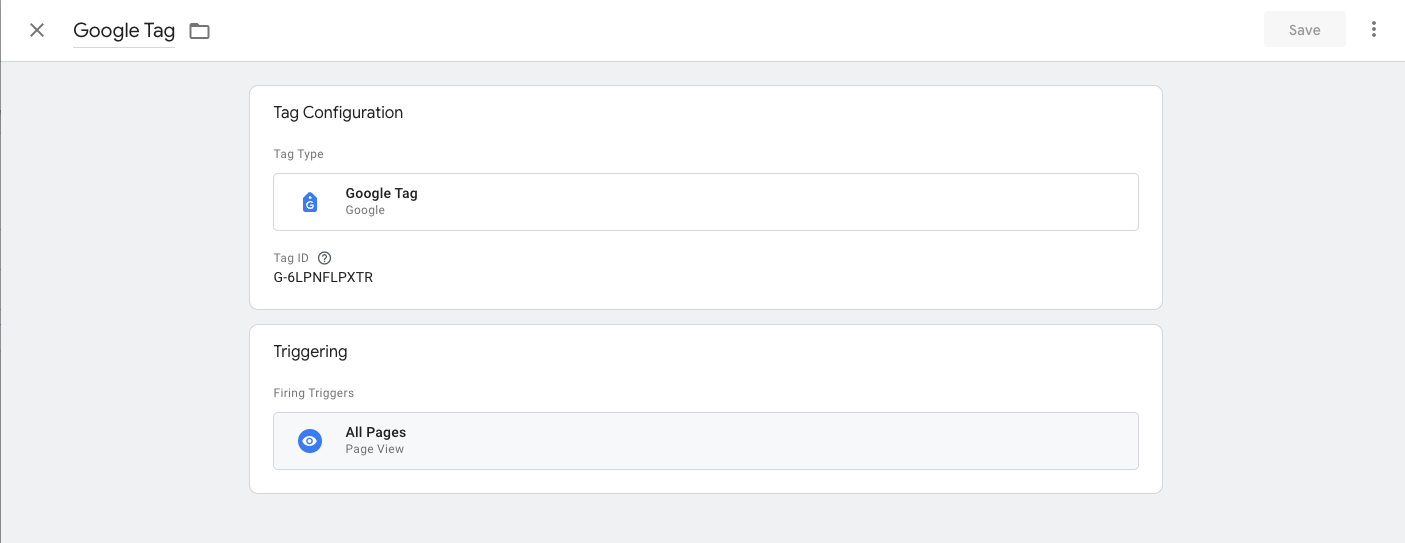
Finally, click on Triggering, select All Pages and SAVE.

Your Google Tag will look like this:
STEP 5: Create the GA Ecommerce Tag and trigger in GTM
You need to create a tag for the e-commerce data. In your GTM workspace, navigate to the Tags section via the left menu and then click on NEW (top-right button).
Name your Tag "e-commerce Tag" and click on the Tag Configuration card.
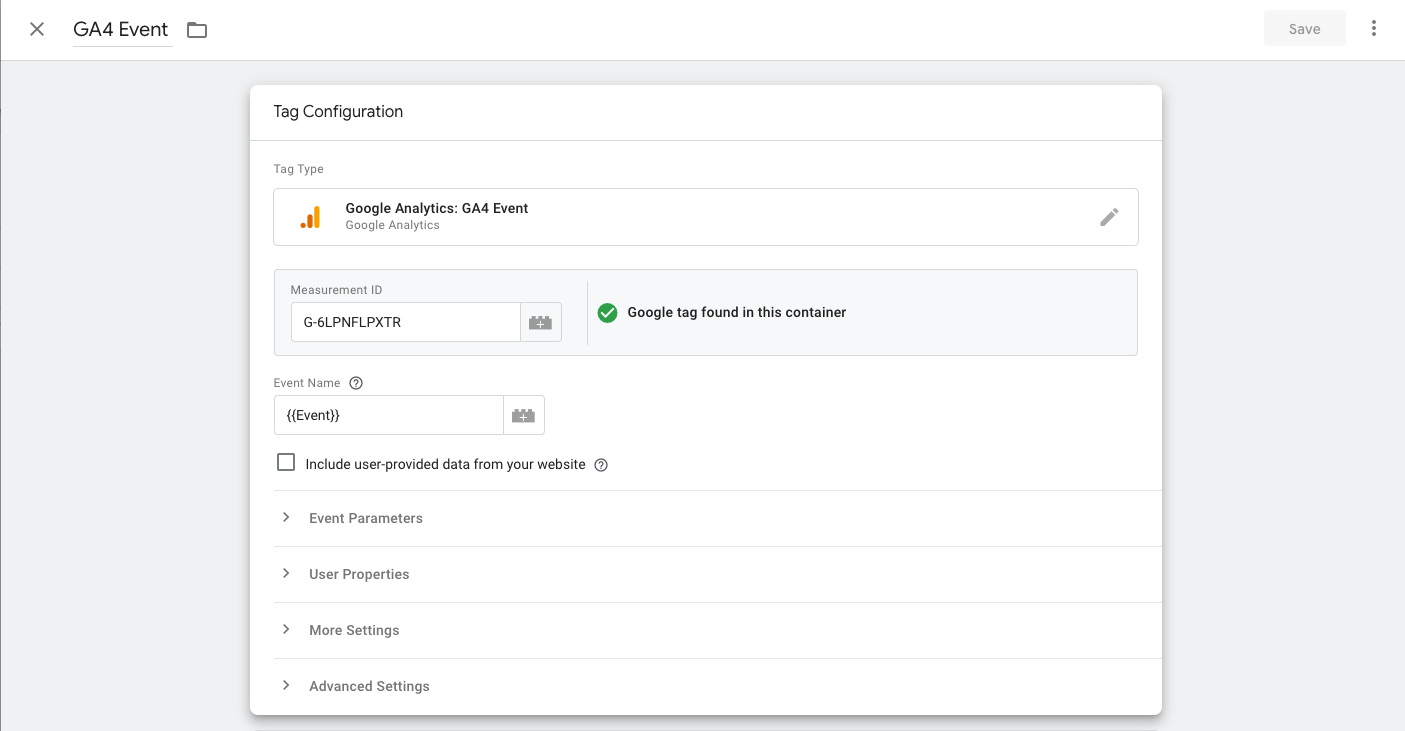
Select Google Analytics > Google Analytics: GA4 Event
Add the same Measurement ID as before and, in Event Name type {{Event}}
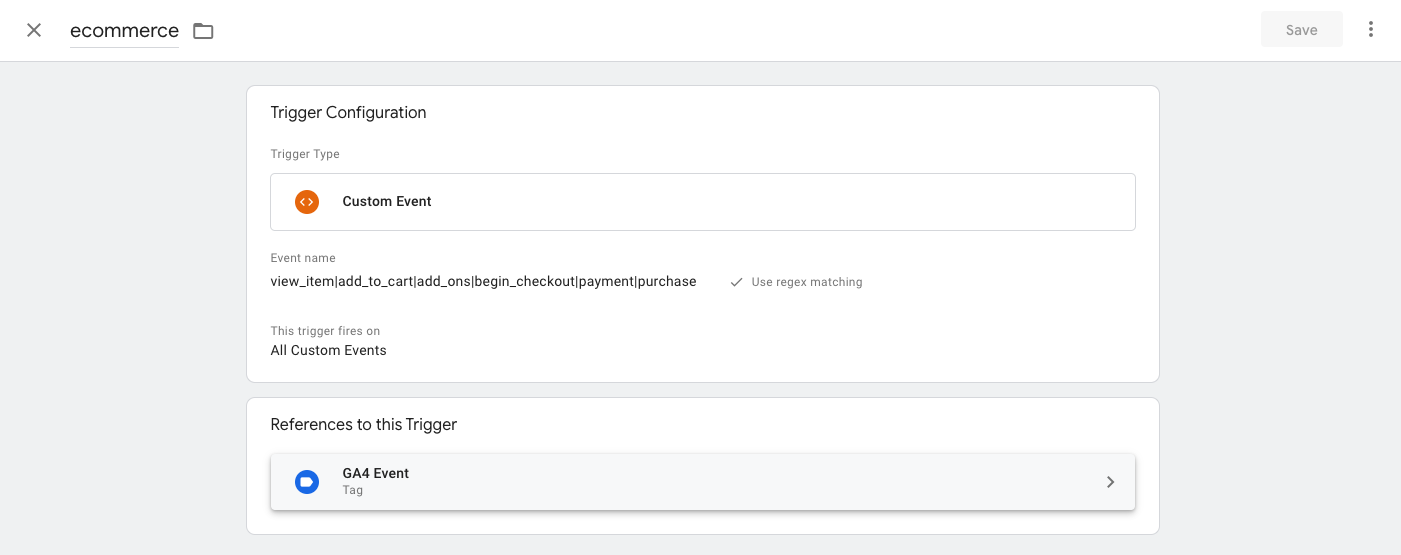
Finally, create atrigger by pasting the following in the event name:
view_item|add_to_cart|add_ons|begin_checkout|payment|purchase
selecting the use regex matching option and saving.
Your Tags section will now look like this:

STEP 6: SUBMIT THE CHANGES TO THE WORKSPACE
In order to make all the above changes public, you need to click on the SUBMIT button at the top right of your workspace home page

If you have any other questions check our FAQ page or contact support@xceed.me