
How to import tickets from a CSV file
Use this when part of your ticketing happens externally or when you need to consolidate all entries in one place. It’s especially useful for hybrid ticketing setups or guestlists managed outside XCEED.
Imported tickets can then be handled like regular tickets for access control.
1. Prepare your CSV file
Before importing, make sure your CSV file is correctly formatted.
Use a standard CSV file format.
Include the required ticket information (such as attendee name, email but specially the unique identifier QRcode or barcode)
Ensure each row represents one ticket.
Remove duplicates or invalid entries before uploading.
Incorrect formatting can cause the import to fail.
2. Import the CSV file into XCEED
Before importing tickets, you should:
Create an import channel via the Marketing section. This channel is used to identify tickets that were not sold through XCEED.
See more on how to create a channel here
Make sure the types of tickets being imported are cerated on your event
Open the event where you want to import tickets.
Access the ticket import option for that event.
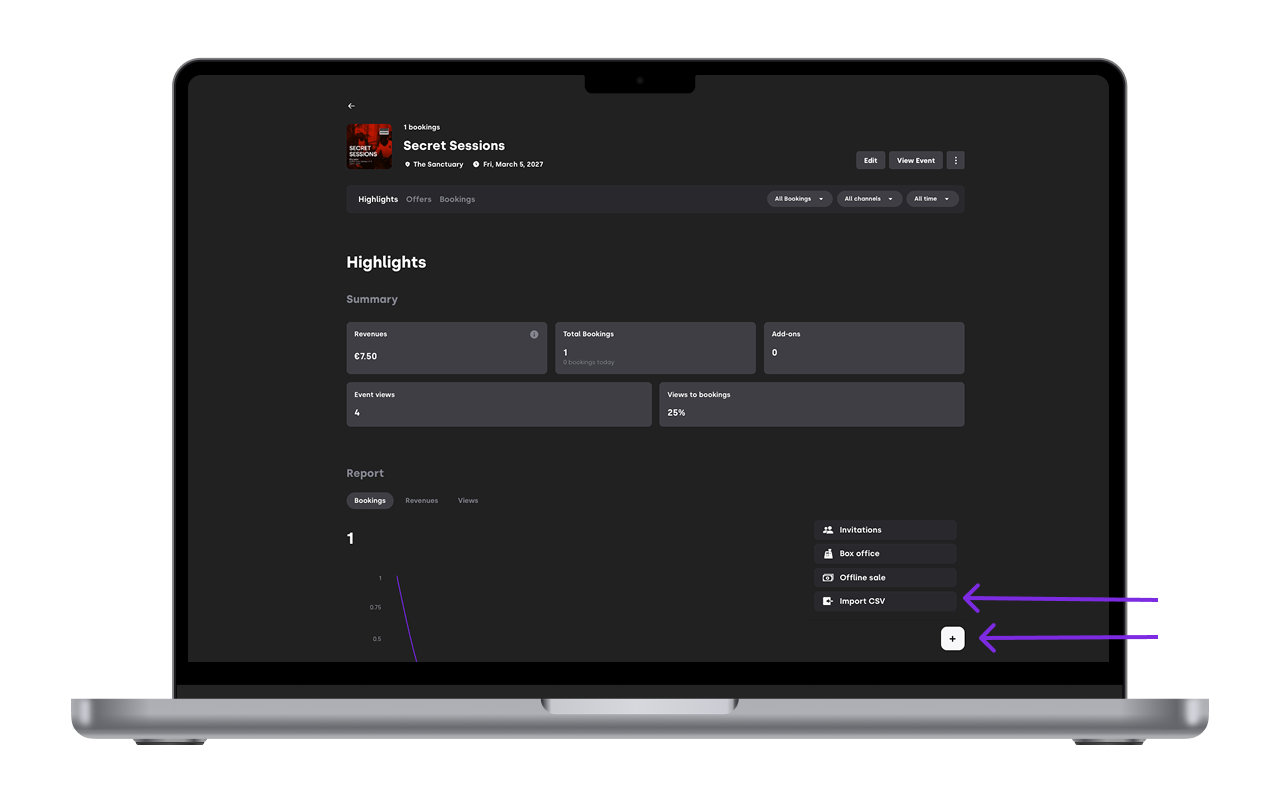
Select the offer type, import channel you just created or any other and the file to upload
Assign each column on your file to a corresponding atribute
(The QR code atribute is the only that is mandatory)
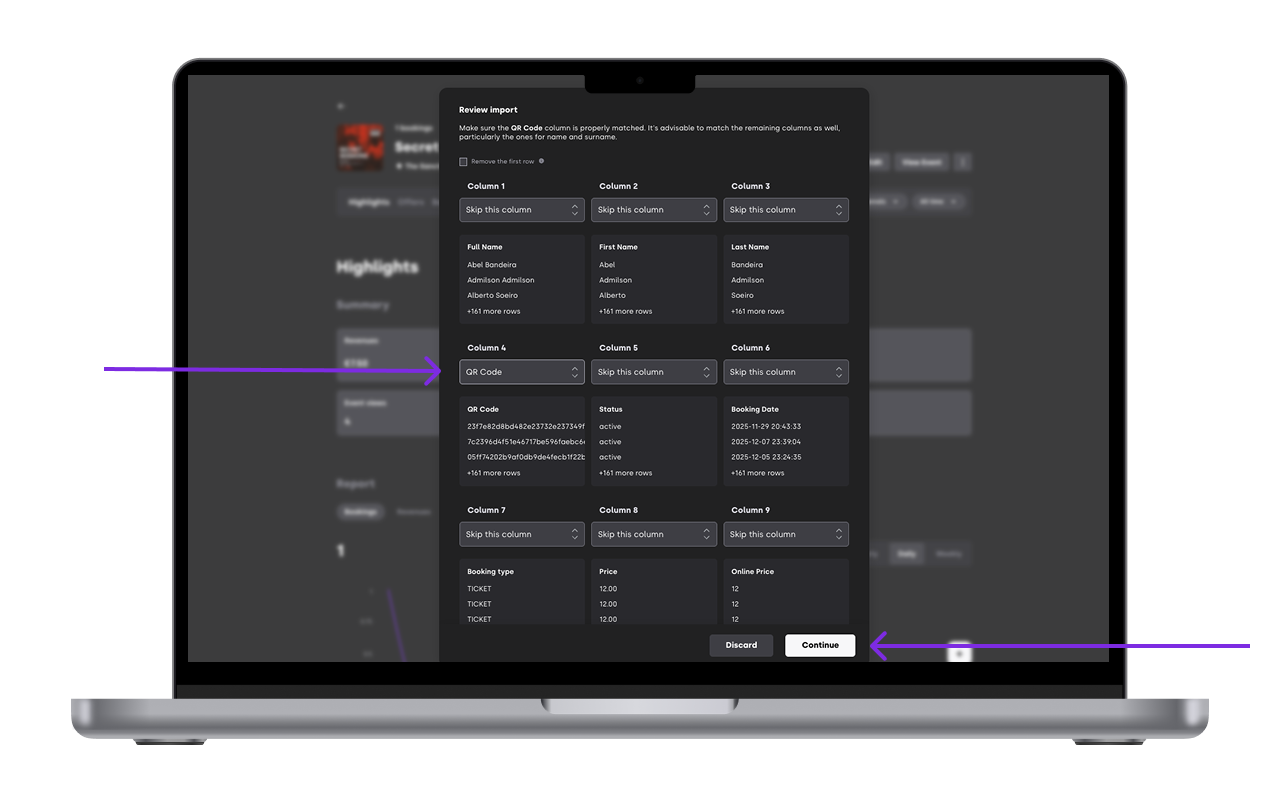


Once completed, the tickets will appear in your event’s ticket list.
3. After the import
After importing tickets:
Verify that all entries appear correctly
Test scanning or access control if applicable
Re-import if corrections are needed
Any changes to the CSV require a new import.
4. Important things to keep in mind
Imported tickets are not linked to payments on XCEED
Imported tickets cannot be refunded through XCEED
Responsibility for ticket validity remains with the organiser
Always double-check your data before doors open.
If you have any other questions check our FAQ page or contact support@xceed.me